Webflow Migration Checklist (How to Migrate to Webflow)


This is a complete guide that will help you migrate your website to Webflow without losing traffic. It does not cover how to build a website in Webflow, but rather what you need to keep in mind when migrating to Webflow.
A word of caution: There will be fluctuations in your website traffic when you hit publish. The goal of this list is to mitigate those fluctuations and plan for growth in the future. If done correctly, most Webflow migrations should bring an increase in organic search traffic.
1. Planning
Crawl your current website for URLs
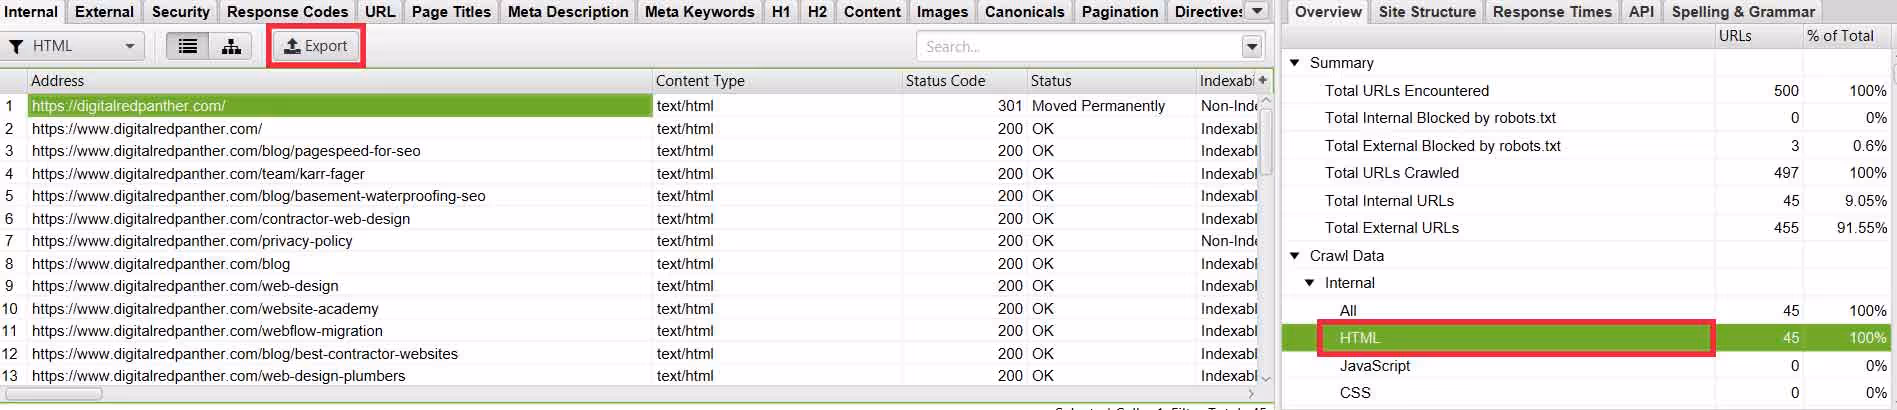
Use Screaming Frog's SEO Spider to download a list of all of your current website's URLs. You'll use this list to determine which pages are staying and which are going to be deleted.
In the Screaming Frog tool, export only the HTML pages under "Internal" > "HTML".
Analytics benchmarking
It is a good idea to take note of how much traffic each page is receiving before the migration. This will help you determine how the website is performing post-migration. You can use a tool like SEMRush or Ahrefs to set up position tracking as well.
Plan the sitemap
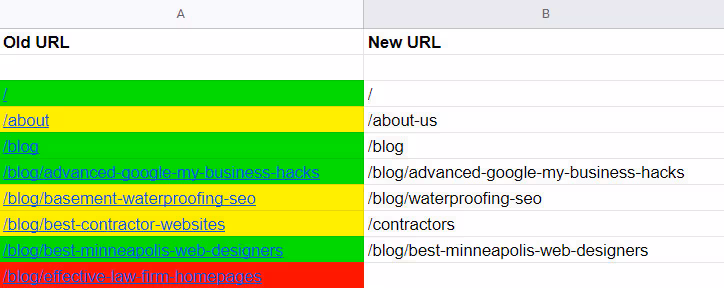
Import the list that you just downloaded to Google Sheets and update it as you wish. Add pages or move pages around that need to be reorganized. Only move pages if needed. If there are outdated pages on your old website, now would be a great time to revamp them or delete them altogether. Be sure to check your analytics to see if the pages are receiving traffic before deleting them. Any deleted pages will need 301 redirects, but more on that later.
If you would like to view the sitemap visually rather than just in a spreadsheet, you can use a tool like octopus.do to build the sitemap.
2. Building the Webflow Website
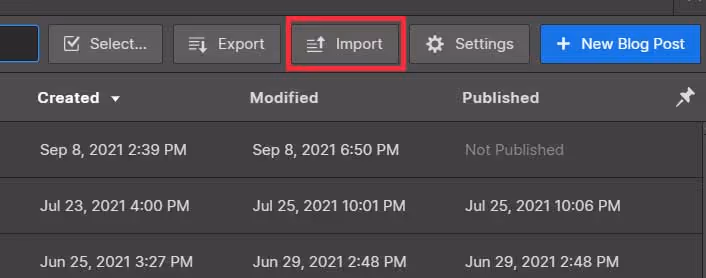
Import your blog posts
The best way to import blog posts to the Webflow CMS is through a CSV file. You will need to restructure some (if not all) of the blog posts, but importing this way will save you a lot of time. You will also need to set up new custom fields in the CMS.
Check to make sure the URLs match the old URLs! Webflow does not give you a way to get rid of the "/blog" subfolder, so if your old website did not have that included in the URL, you'll need to write redirects for every single one of your blog posts or create a wildcard rule.
Make sure technical SEO is optimized
Below are a few technical SEO aspects to check on all of your pages.
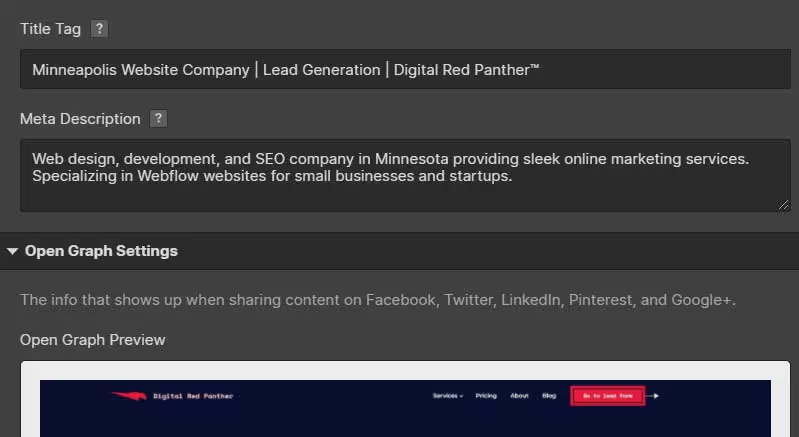
Title tags
Title tags show up in the search results as the link users click to get to your website. Adding title tags is easy to do in Webflow but also easy to forget. Be sure to check that you have tags on all pages. If you need to add title tags to your blog posts, simply add a new plain text field called "Title tag", and then add that specific custom field as a dynamic field under "Title Tag" in the page's settings.
Meta descriptions
Meta descriptions are the smaller descriptions underneath the title tags in the search results. Check that all pages have a meta description. See above to add custom meta descriptions to blog posts.
OG images
If your new website gets shared on social media, the image will be blank unless you add an OG image. Add custom OG (social share) images for all pages that could get shared on social media. If you need to add an OG image to your blog posts, simply add a custom image field in your CMS collection, and then add that custom field as a dynamic field in the page's settings.
Favicon
The favicon is the little image that is shown in the search results and can be seen up next to your website's tab in web browsers.
Headings
Make sure each page has only one H1, and all other headings go from h2 > h3, h3 > h4 rather than h2 > h5 or h1 > h3.
Alt tags
Give your images alternative names so users and search engines can understand them better.
Add 301 redirects
As much as you can, keep all URLs on your website the exact same. For example, if you are a plumber, and your Contact page URL is 'plumbing.com/contact', don't change it in Webflow to 'plumbing.com/contact-us'.
However, if you update the website hierarchy, some URLs will need to be changed. If you added a services hub page, your new URLs might be something like 'plumbing.com/services/residential-plumbing' instead of 'plumbing.com/residential-plumbing.' In this case, you'll need to create a redirect from 'plumbing.com/residential-plumbing' to 'plumbing.com/services/residential-plumbing'.
Any page that was on your old website and is not going to be on your Webflow site (or the URL changed) will need a 301 redirect added.
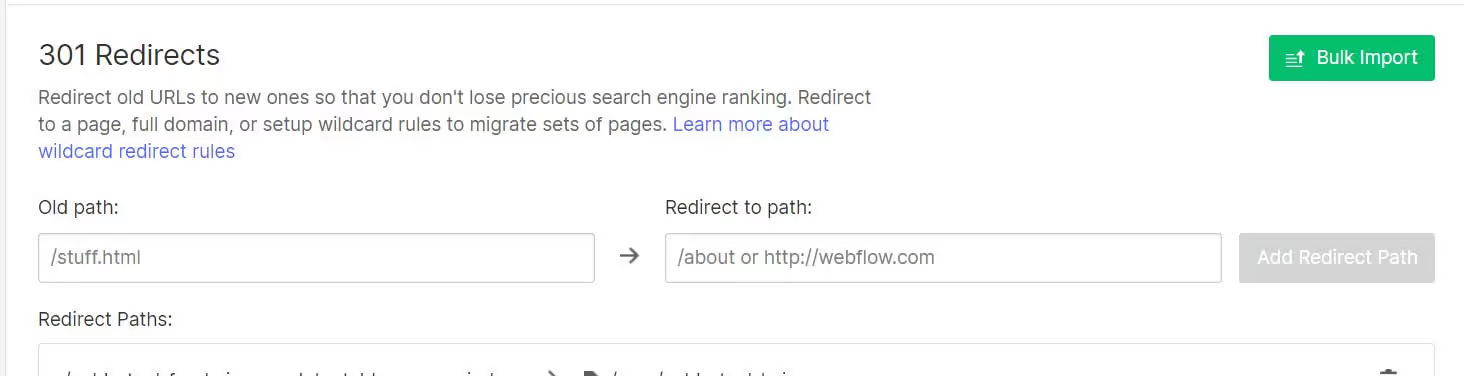
They are very simple to add in Webflow. If you need to add redirects in bulk, download the finsweet browser extension.
Create a custom 404 page
Even with redirects set up, users may end up going to a URL that doesn’t exist. Create a well-designed 404 page that directs them to your homepage and lays out the rest of the main pages on your site.
3. Before Publishing
Save a backup of your old website
If you are on WordPress, you can simply use the All-in-One Migration tool to export your site to save if you need it in the future. Or you can save a backup through cPanel. I also recommend taking screenshots of your current website (or at the very least the most visited pages).
Test all website URLs
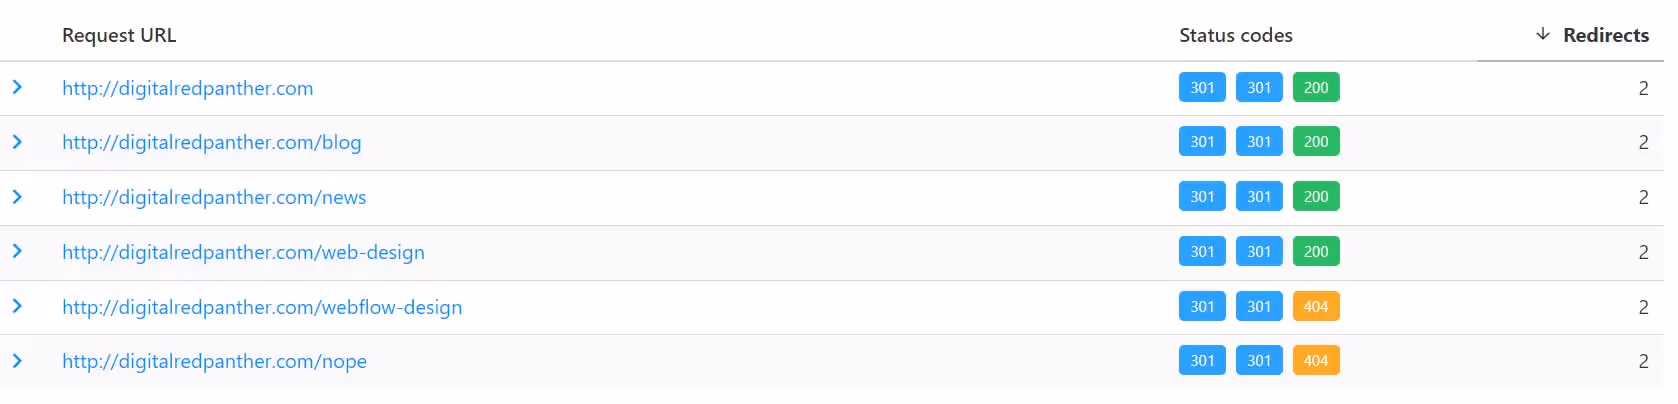
Use a 301 redirect tester (such as httpstatus) to test the URLs and make sure they're going to a live page. In your spreadsheet, find and replace your old website URL with your "webflow.io" subdomain. Copy and paste the URLs from your spreadsheet to httpstatus, and hit "Check status". If there are multiple redirects for a single URL, create new redirects to get rid of the "middle man". If there are pages that go to a 404 error, again, create a redirect to fix the issue.
Run a full website audit
There are free audits out there or you can use SEMRush or Ahrefs to audit your website. Personally, I like to go page by page and run the SEO Pro extension by Marketing Syrup.
Add your analytics
If you are using Google Analytics, Search Console, Tag Manager or another analytics tracking software, make sure you get those integrated on the Webflow website and tested before publishing.
4. After Publishing
Submit sitemap to Google
Go to Google Search Console and submit your new sitemap (yourwebsite.com/sitemap.xml). This will tell Google to crawl your freshly published website for changes.

Monitor analytics closely
You will see some fluctuations with your analytics. Ideally, organic traffic will go up with time, but some sites may see decreases initially. As long as you've done everything correctly in this list and the design is truly better than before, the numbers should come back up within a few months.
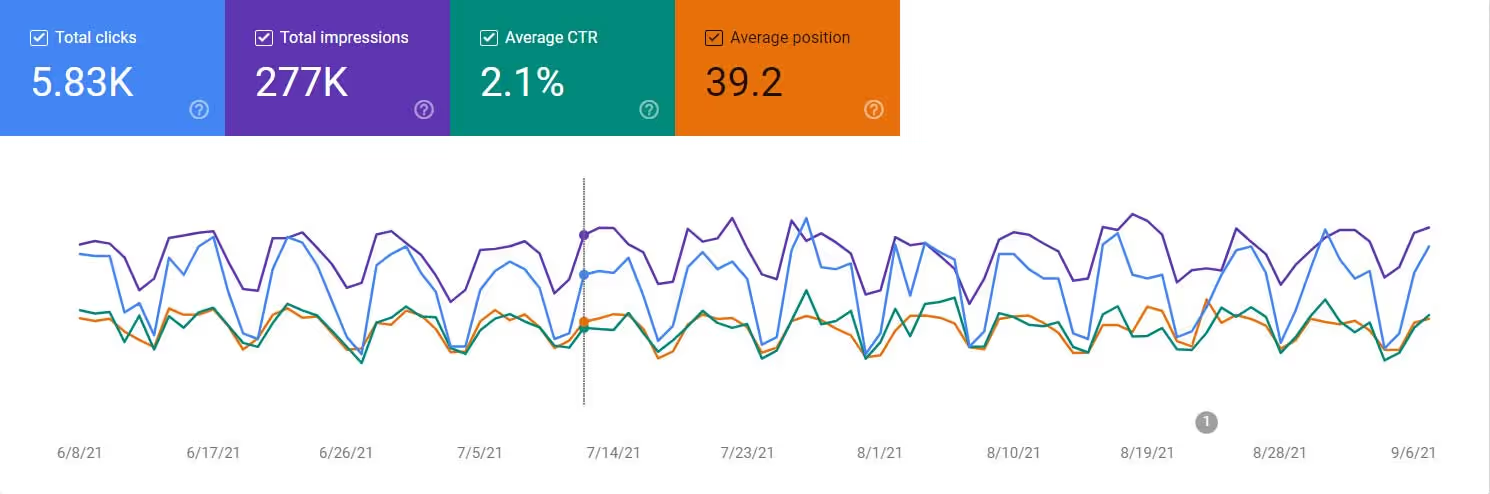
A few numbers to keep an eye on:
- Organic impressions (Google Search Console)
- Organic clicks (Google Search Console)
- Index coverage (Google Search Console)
- Bounce rate (Google Analytics)
- Time on page (Google Analytics)
Check paid advertising landing pages
If you are running paid ads, be sure to check that the URLs are leading to live pages on your new Webflow site as well.
A couple bonus tips:
For redesign projects: It is good to note that the more you change the design and copy, the more fluctuation you’ll see in organic traffic after you migrate. If done correctly, the numbers will go up rather than down, but it is something to keep in mind.
Disable indexing of subdomain: As you build your new website in Webflow, you can publish it to the “webflow.io” subdomain, and disable indexing. This will ensure that Google and other search engines will not index the site until you are ready to migrate.